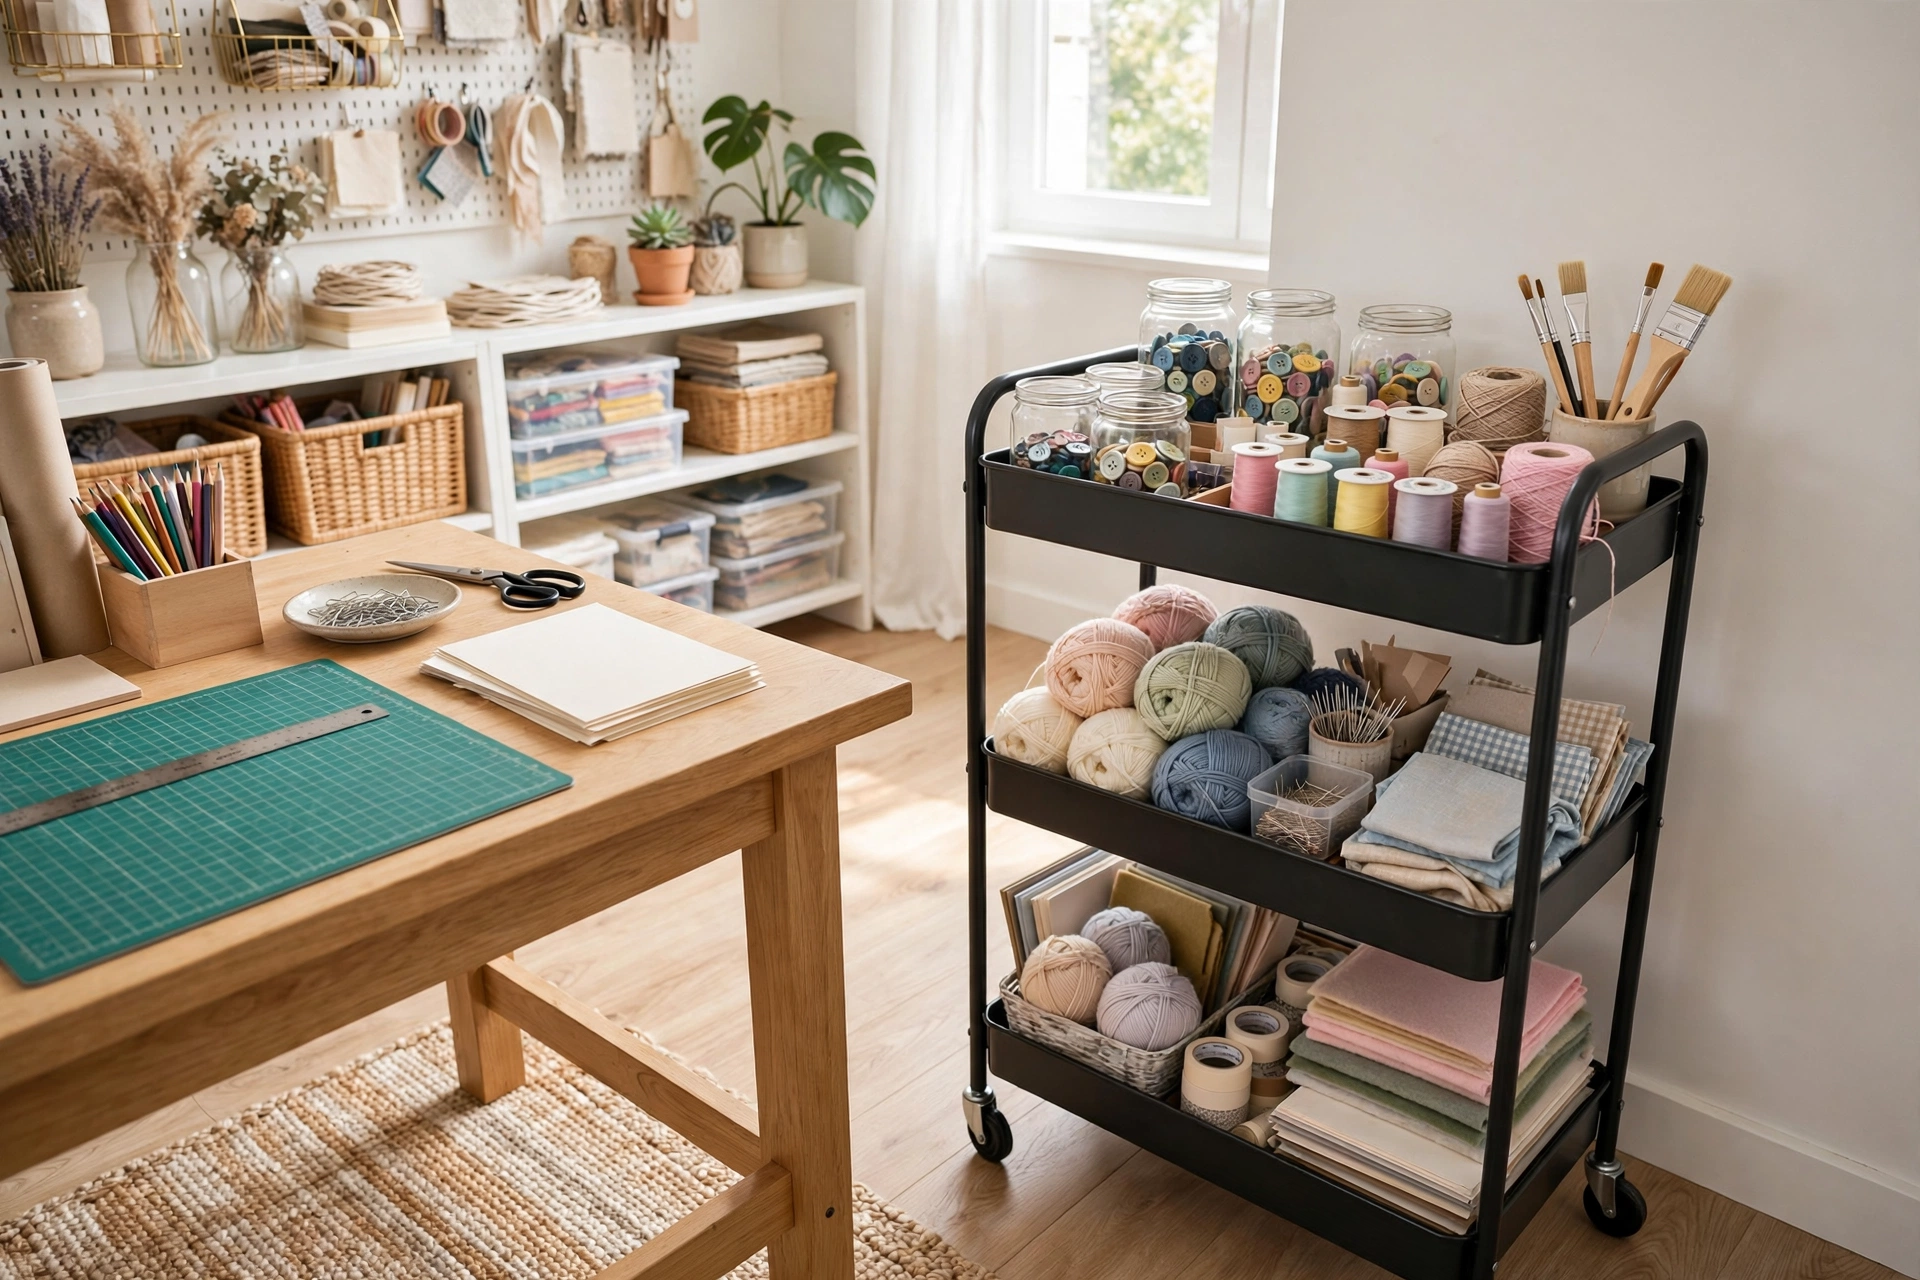
Craft supplies expand to fill every available surface — then keep going. Whether it’s a dedicated craft room or a corner of the dining table, these craft storage ideas keep supplies visible, sorted, and ready to use, without the chaos.
Pair this with our small apartment organization ideas and toy storage ideas for small spaces.
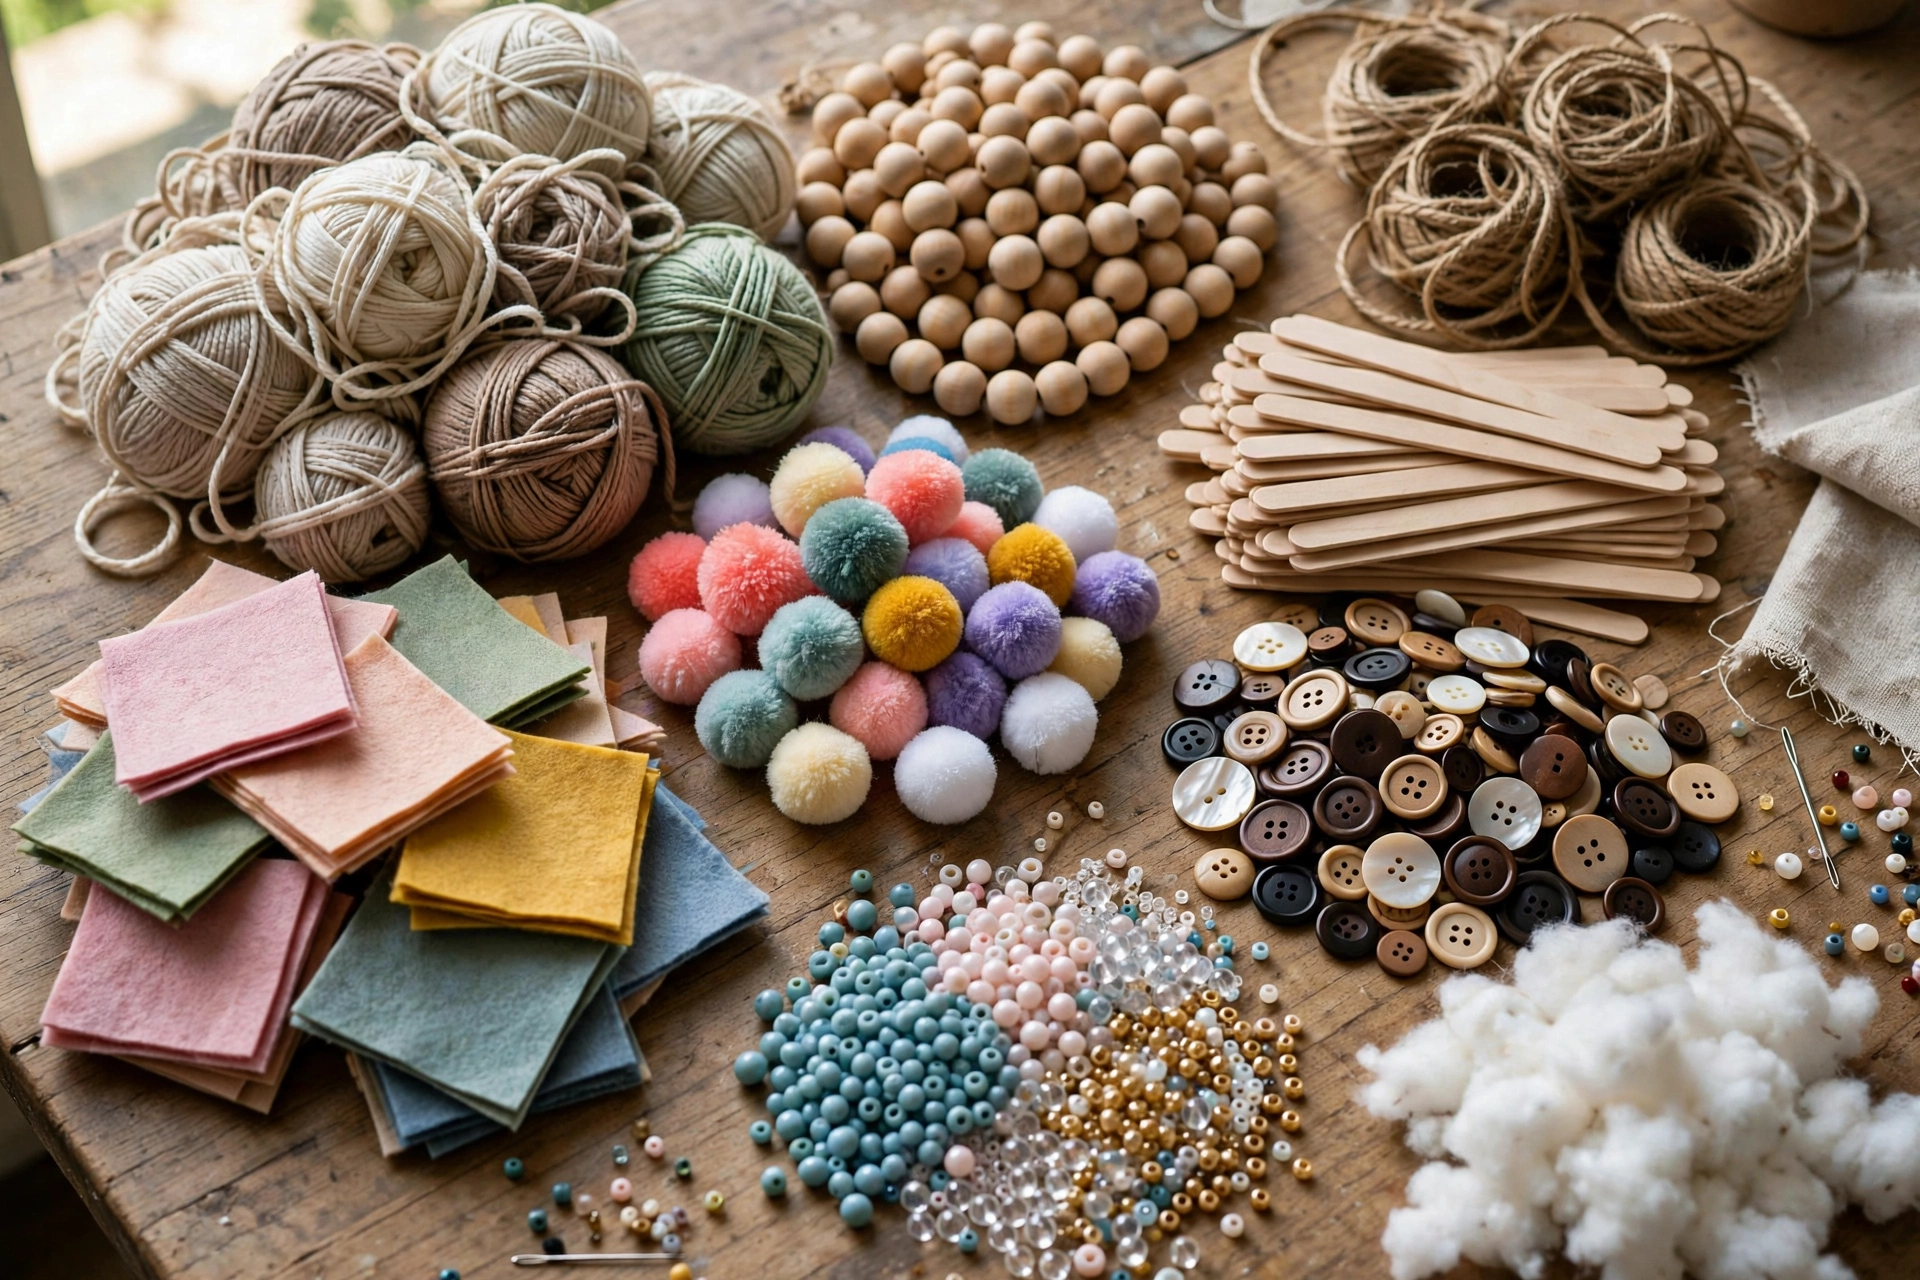
Sort before you store
- Sort by craft first, then by supply: all the knitting together, all the painting together — then subdivide.
- The honesty purge: dried-up paint, tangled yarn you’ll never untangle, and “someday” supplies from abandoned hobbies go first.
- One project at a time on the work surface. Everything else lives in its home — that’s the whole system.
- Decide your active crafts: supplies for 2–3 current crafts stay accessible; the rest gets stored deeper.

Small-space craft storage
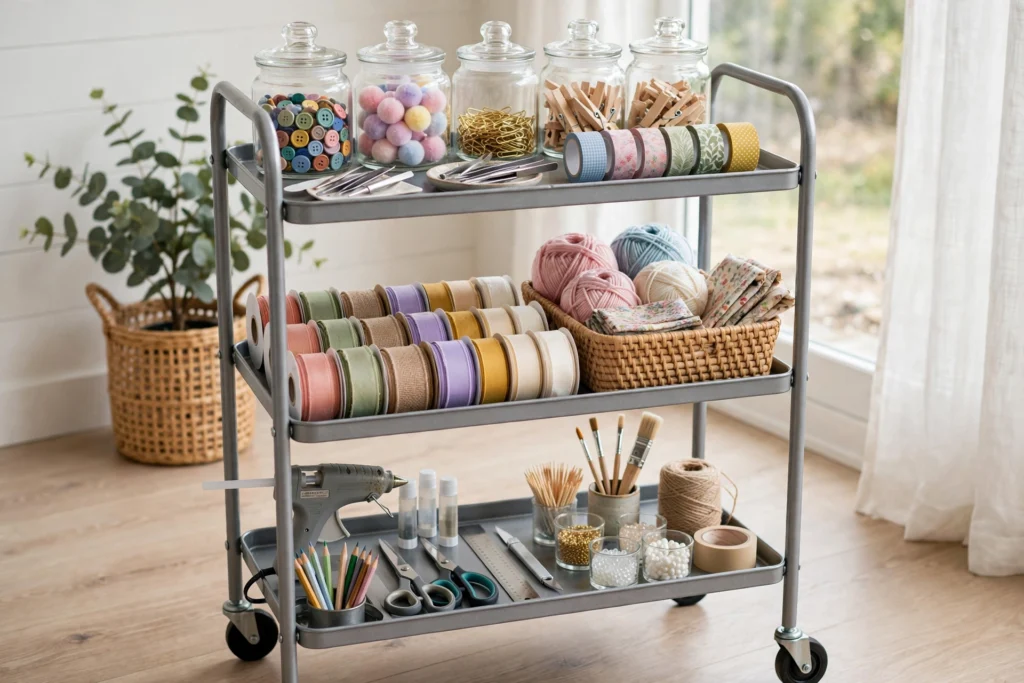
- A rolling cart per craft: the crafter’s best friend — everything for one project in a 3-tier cart that rolls to the table and away.
- Over-the-door organizers with clear pockets for ribbons, tools, and small supplies — massive capacity, zero footprint.
- A fold-down wall desk creates a craft station that disappears when dinner needs the table.
- Under-bed boxes with dividers for fabric, paper, and seasonal craft supplies.


Keeping small supplies under control
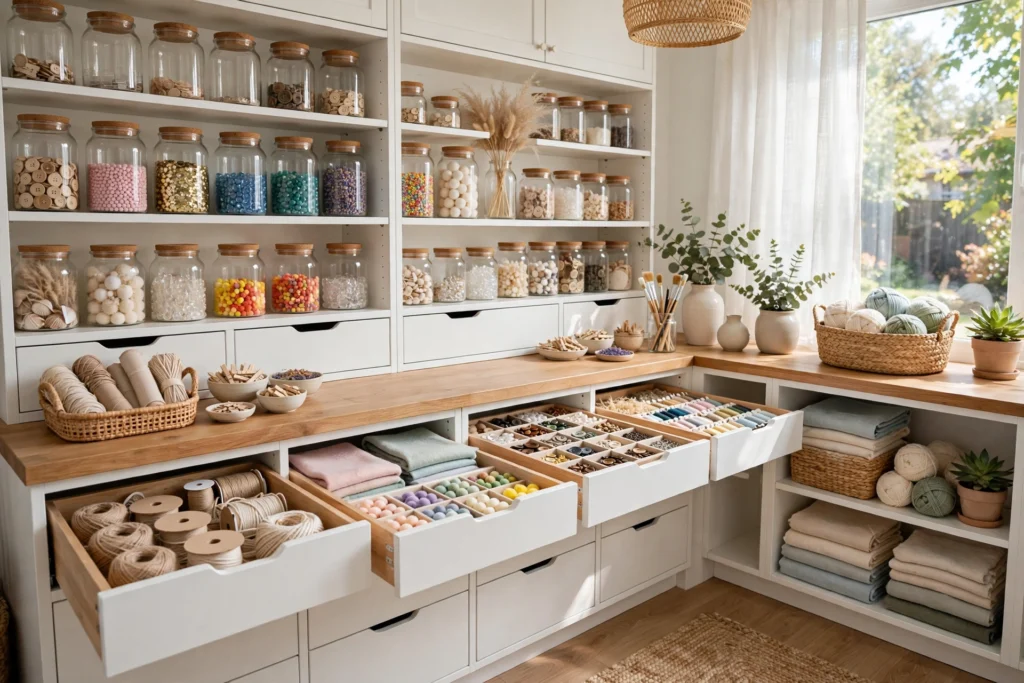
- Clear jars and canisters for buttons, beads, and brads — visibility prevents rebuying what you already own.
- A tackle box or bead organizer for tiny findings, with each compartment labeled.
- Magnetic strips inside a cabinet door for scissors, rulers, and metal tools.
- Zippered pouches by project: everything for the current project in one pouch — grab and go.


Paper, fabric, and bulky supplies
- Paper stored vertically like files in a magazine holder — no more digging through stacks.
- Fabric folded uniformly (the file-fold method) and stored upright in bins so every print is visible.
- Wrapping paper in a tall bin or mounted on the wall — never shoved behind furniture again.
- Yarn in clear bins by weight or color, with a separate small basket for the current project.
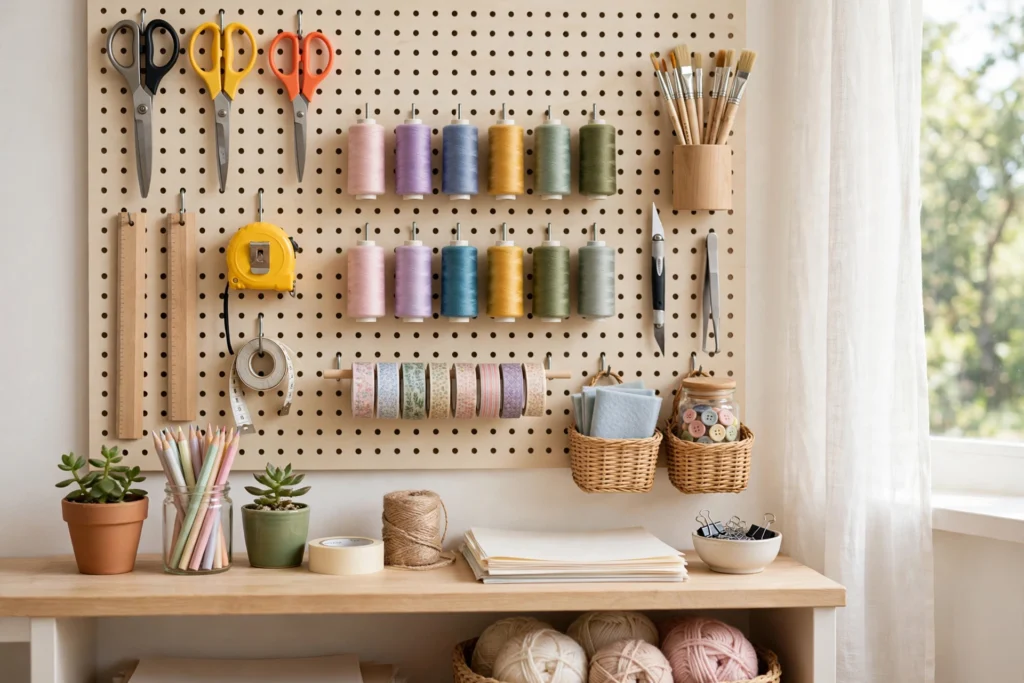
The craft room setup (if you have one)
- Zones: one zone per craft plus a packing/shipping corner if you sell. Zones keep supplies from migrating.
- Pegboard walls for tools and frequently-used supplies — everything visible at a glance.
- Closed storage for the ugly stuff: adhesives, half-finished projects, and bulk buys behind doors.
- A “finish it” shelf: one shelf for works in progress, with a rule — nothing new starts until something finishes.
Frequently asked questions
How do I organize craft supplies in a small space?
Use a rolling cart per craft, over-the-door clear organizers, and under-bed boxes. Keep only 2–3 active crafts accessible and store the rest deeper.
What’s the best way to store small craft supplies?
Clear jars for visibility, compartment organizers for tiny findings, magnetic strips for metal tools, and zippered pouches holding everything for the current project.
How should I store fabric?
Fold uniformly using the file-fold method and store upright in bins so every print is visible without unfolding the stack.
How do I stop craft supplies from taking over the house?
Contain each craft to its zone or cart, keep one project on the work surface at a time, and enforce the “finish it” rule before starting anything new.
Final thoughts
Craft storage is containment plus visibility: sort by craft, give each active project a cart or zone, keep small supplies in clear labeled homes, and store the rest out of sight. Creativity thrives in organized chaos — emphasis on organized.